
Employee Labels
This list will display labels to print for employees based on the selections. The employee information pulls from the Employee Master.
 NAVIGATION: LISTS menu > Employee Labels
- Employee Type: Select one of the following options or leave at <<All>>:
- <<All>>
- Hourly
- Salary
- Pay Frequency: Select one of the following pay frequencies to print labels for:
- <<All>>
- Weekly
- Biweekly
- Semi-Monthly
- Monthly
- Department
- To print labels for employees within a specific department select the appropriate department.
- To print labels for employees within all departments or if you do not use departments, leave the department field blank.
- Layout
- Use lines 1 through 5 will default to:
- Employee Name
- Employee Address 1
- Employee Address 2
- Employee City/State/Zip
- <<Blank>>
- Information from one of the following may be selected for any one of the lines:
- <<Blank>>
- <<NOT USED>>
- Employee Number
- Employee Name
- Employee Address Line 1
- Employee Address Line 2
- Employee City, State and Zip
- Employee Department
- Employee Social Security Number
- Employee Badge Number
- Use lines 1 through 5 will default to:
- Indent
- Enter a number to adjust the printing of the labels on the left side.
- The number entered does not affect preview.
- Label Sort Order: Select one of the following orders to print labels in:
- Employee Name
- Employee Number
- Department
- Label Options Pick Label
- Clicking this button opens a browse box where you can pick label formats by manufacturer, i.e., Avery 5660
- Label Setup
- If you are not using a manufactured label format and the default format is not working for you, click the label setup button to open a utility to design a label format.
- The utility program has default information - make adjustments to the information to change the printable area on a label.
- Draw Label Box: Click in this field to insert a check mark indicating that a box should be drawn around the label when it is printed.
- Draw Box only in preview: Click in this field to insert a check mark indicating that boxes should be drawn around label information when it is previewed but the boxes should not print on the actual label.
- Top Down: Check this box to have the label information previewed and printed in columns instead of rows
- OK: Click the OK button to accept the changes you have made for the labels and close the Label Setup program.
- Cancel: Click the Label Setup cancel button to close the setup program without saving any of the changes.
- Label Copies: Enter the number of labels for each employee to print.
- Labels to Skip
- When a number is entered into this field, the program will skip over those labels without printing.
- Use this field to "skip" labels that have previously been printed on or removed from the page.
- Preview or print the report (see Report Preview, Print and Save Options)
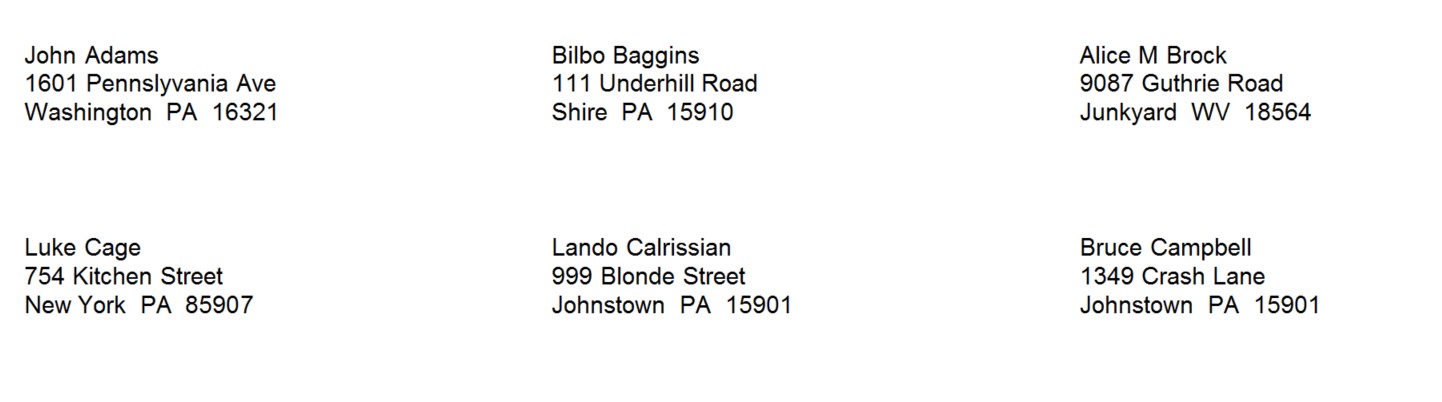
- SAMPLE
12/2023